
オンマウスで画像を差し替える動作(ロールオーバー画像)を実現する方法をお伝えします。
この方法はCSSのみで実現可能です。
目次
サンプルとコード
モノクロとカラーの画像を入れ替える
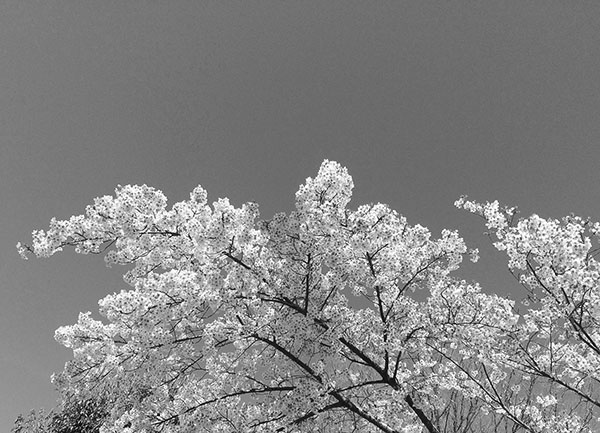
<div class="img-roleover image-mono"><img src="/wp-content/uploads/mouse-over-image2-min.jpg" alt="ロールオーバー画像"></div>
<style>
.image-mono{
  position: relative;
  width: 80%;
  margin: 40px auto;
  background-image: url("/wp-content/uploads/mouse-over-image1-min.jpg");
  background-repeat: no-repeat;
  background-size: cover;
}
.image-mono img{
  transition: all 300ms;
}
.image-mono:hover img{
  opacity: 0;
}
</style>
画像をスライドさせて切り替える
左がimgタグありのサンプルで、右がimgタグ無しのサンプルです。

<div class="img-roleover image-slide">
  <div class="sample1"><img src="/wp-content/uploads/mouse-over-image3-min.jpg" alt="ロールオーバー画像"></div>
  <div class="sample2"></div>
</div>
<style>
.img-roleover{
  margin-bottom: 40px;
}
.image-slide{
  display: flex;
  justify-content: space-around;
}
/* 左側 */
.image-slide .sample1{
  position: relative;
  width: 45%;
  overflow: hidden;
}
.image-slide .sample1 img{
  transition: all 300ms;
  width: 200%;
  max-width: unset;
}
.image-slide .sample1:hover img{
  margin-left: -100%;
}
/* 右側 */
.image-slide .sample2{
  width: 45%;
  background-image: url("/wp-content/uploads/mouse-over-image3-min.jpg");
  background-repeat: no-repeat;
  background-size: 200%;
  background-position: left;
  transition: all 300ms;
}
.image-slide .sample2:hover{
  background-position: right;
}
</style>
以上になります。
後々、サンプルを増やしていきたいと思います。


コメント